Peak viewing season for the northern lights in Iceland is September through March when the nights are long (during the winter solstice, darkness can extend for approximately 19 hours).
Since we are in the middle of the viewing season I wanted share some tips from my trip to Iceland last winter for viewing and photographing the aurora borealis. I took off on Icelandair for my winter wonderland adventure with the goal of finally seeing the northern lights in action last December when the nights are the longest providing the best chance to see the natural display.
Pack Your Patience
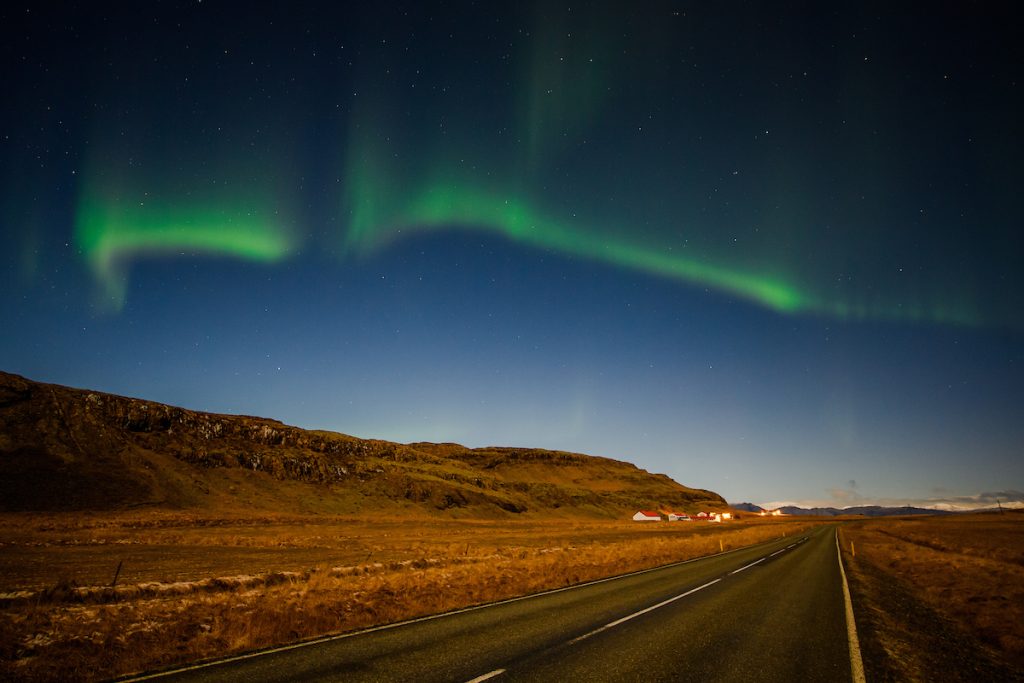
You are literally at the mercy of Mother Nature and even though there are mobile apps that can help predict the probability and locations of the lights, nothing is guaranteed. The green lights usually appear between 10 PM – 2 AM but every local that I spoke with had stories of seeing the phenomenon at all hours of the day and night.
It becomes a not-so-relaxing vacation as you try to stay awake in anticipation of seeing the lights. Most hotels will do special wake up calls if the lights are visible. The hotel front desk attendants are very nice and even go outside to look each hour to keep an eye out. The whole country was full of nice people and the hotels and attractions take hospitality very seriously.
Try to relax and enjoy the beautiful scenery and not worry all the time about getting the perfect photo of the Northern Lights. It is one of the most beautiful places on earth and you should enjoy all of your time in this special country.
Dress in Layers
I cannot stress enough that it is cold after the sun goes down which is most of the time during the winter months. Luckily, I took a trip to the Arctic a few years prior and had some REI gear that was suited for the temperatures but I was still very cold on some of the nights when we setup outside by lakes to wait on the lights with a perfect photo backdrop.
Most of the time I was wearing warm wool layers of pants and shirts under main layers of waterproof clothes. Most of the time I was wearing 3-4 top layers of shirts and jackets, at least two layers of pants, and two pairs of socks inside insulated boots. Hats and scarves are also a must as well as multiple pairs of gloves. My best gloves for shooting were actually purchased at a gas station on the highway in Iceland.
Some of my favorite cold weather clothes are below:
Cold Weather Pants:
Base Layers- Merino Wool:
https://www.rei.com/c/womens-base-layers
Boots- (I had three pairs of boots and these were the best):
Wool Socks:
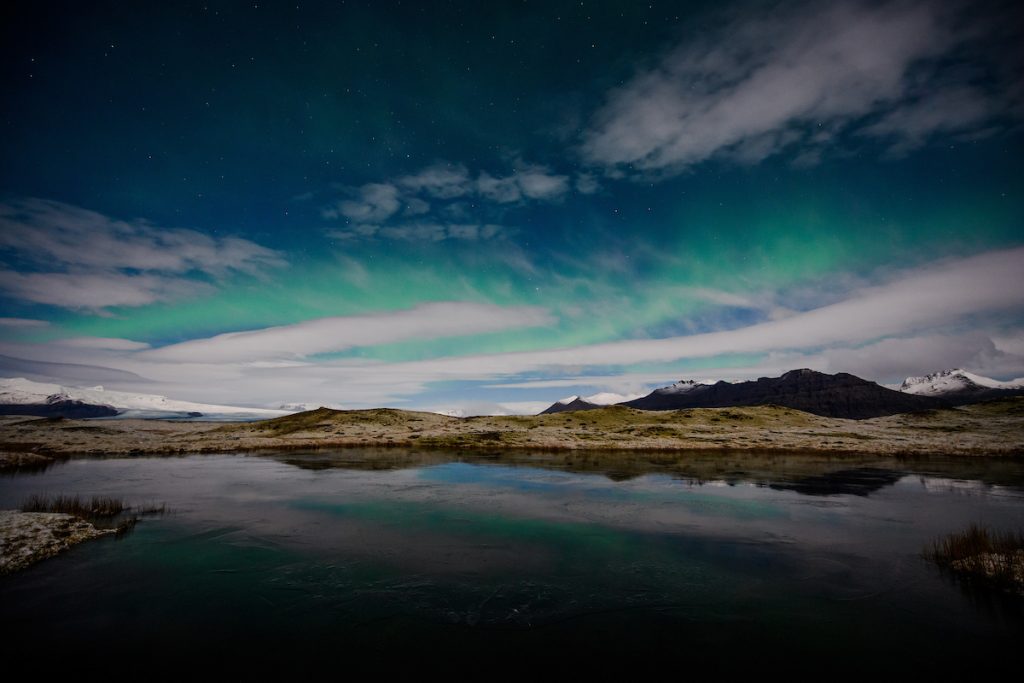
Photo Tips for Capturing the Northern Lights
Camera and Lens Selection
I personally think mirrorless cameras work best for photographing the lights because you can see a live image as well as avoiding the shutter movement as the camera takes pictures with a traditional DSLR. Mirror lock up on a traditional DSLR is a good option if you do not have a mirrorless camera. A full frame camera that performs well in low light is recommended to get the best photo quality.
You will need a fast lens that performs well in low light. This means you need to allow as much light as possible into the camera. Ideally you would use a wide-angle lens with f/1.4 or f/1.8 but a standard f/2.8 lens is good as well.
Focus
Focusing is probably the hardest part of photographing the Northern lights. We recommend setting your camera to manual focus mode and utilize the live view function at its highest magnification. Seek out bright stars and carefully adjust the focus ring until the stars appear exceptionally crisp. Keep in mind that this technique is rather advanced and requires a highly stable tripod to keep the camera stable.
Tripod
A good quality steady tripod is essential for photographing the Aurora Borealis. Some of the locations to photograph can be windy and you may even want to consider adding weights to the tripod to keep it more stable.
You will be shooting at long exposures to catch as much light as possible so the camera cannot be handheld.
Remote Triggers or Camera Self-timers
Remote triggers or self-timer settings are recommended to take the photos so that you do not shake the camera and cause blurry images.
Batteries
In cold weather, batteries tend to deplete at an accelerated rate, leading to a rapid loss of their capacity. As a precaution, it is advisable to carry at least one spare battery when traveling. I highly recommend having multiple spares on hand. Just envision the disappointment of missing out on capturing the aurora if your camera runs out of power!
Camera Settings
I recommend always shooting in manual mode on your camera for best results. I also always shoot in RAW to make sure you have the most flexibility when editing images later. You need to adjust your setting based on the individual conditions but below is some guidance to get started.
3 ranges of shutter speeds for Aurora pictures, assuming 1600-3200 ISO and f/2.8:
- Faint Auroras (barely visible with the naked eye): 10 to 20 seconds
- “Average” Auroras: 5 to 10 seconds
- Bright Auroras (usually also very fast): 0.5 to 5 seconds.
Travel Tip:
Sometimes the lights are very faint and hard to see with the naked eye so I used my IPhone camera to scan the sky to see if the lights were present. The camera can often see the lights that are barely visible but will show up in images.
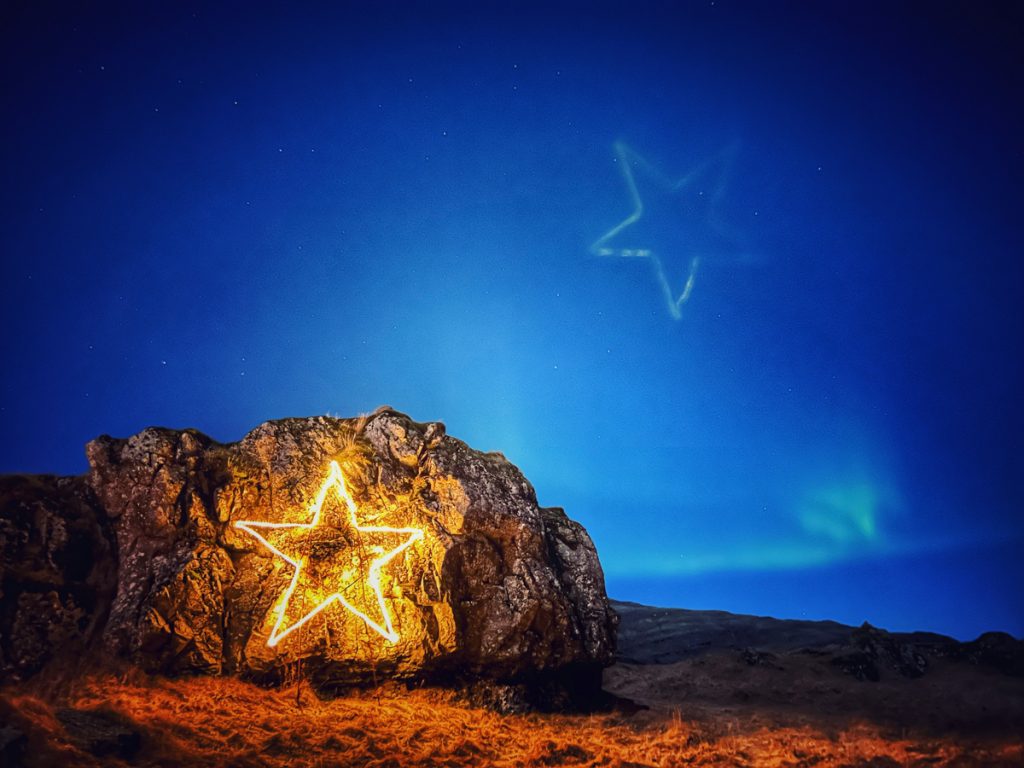
There are many trips that can be booked nightly to take visitors out to see the Northern Lights or you may choose to rent a car and drive around the ring road in search of the lights. A guide can be helpful though because they often have off road vehicles that can take tourists to more picturesque locations for the best images.
During my trip, I was able to see the Northern Lights and cross the experience off my bucket list but they were very faint on some occasions. I was able to get photos but it can be disappointing when you don’t get the dynamic lighting at your perfect locations. But it is always magical to see them dance in nature above you even for a few minutes.

